Get started with KubeScape
This blog is for all the folks who are just getting started with KubeScape or even kubernetes.


What you'll need?
Docker
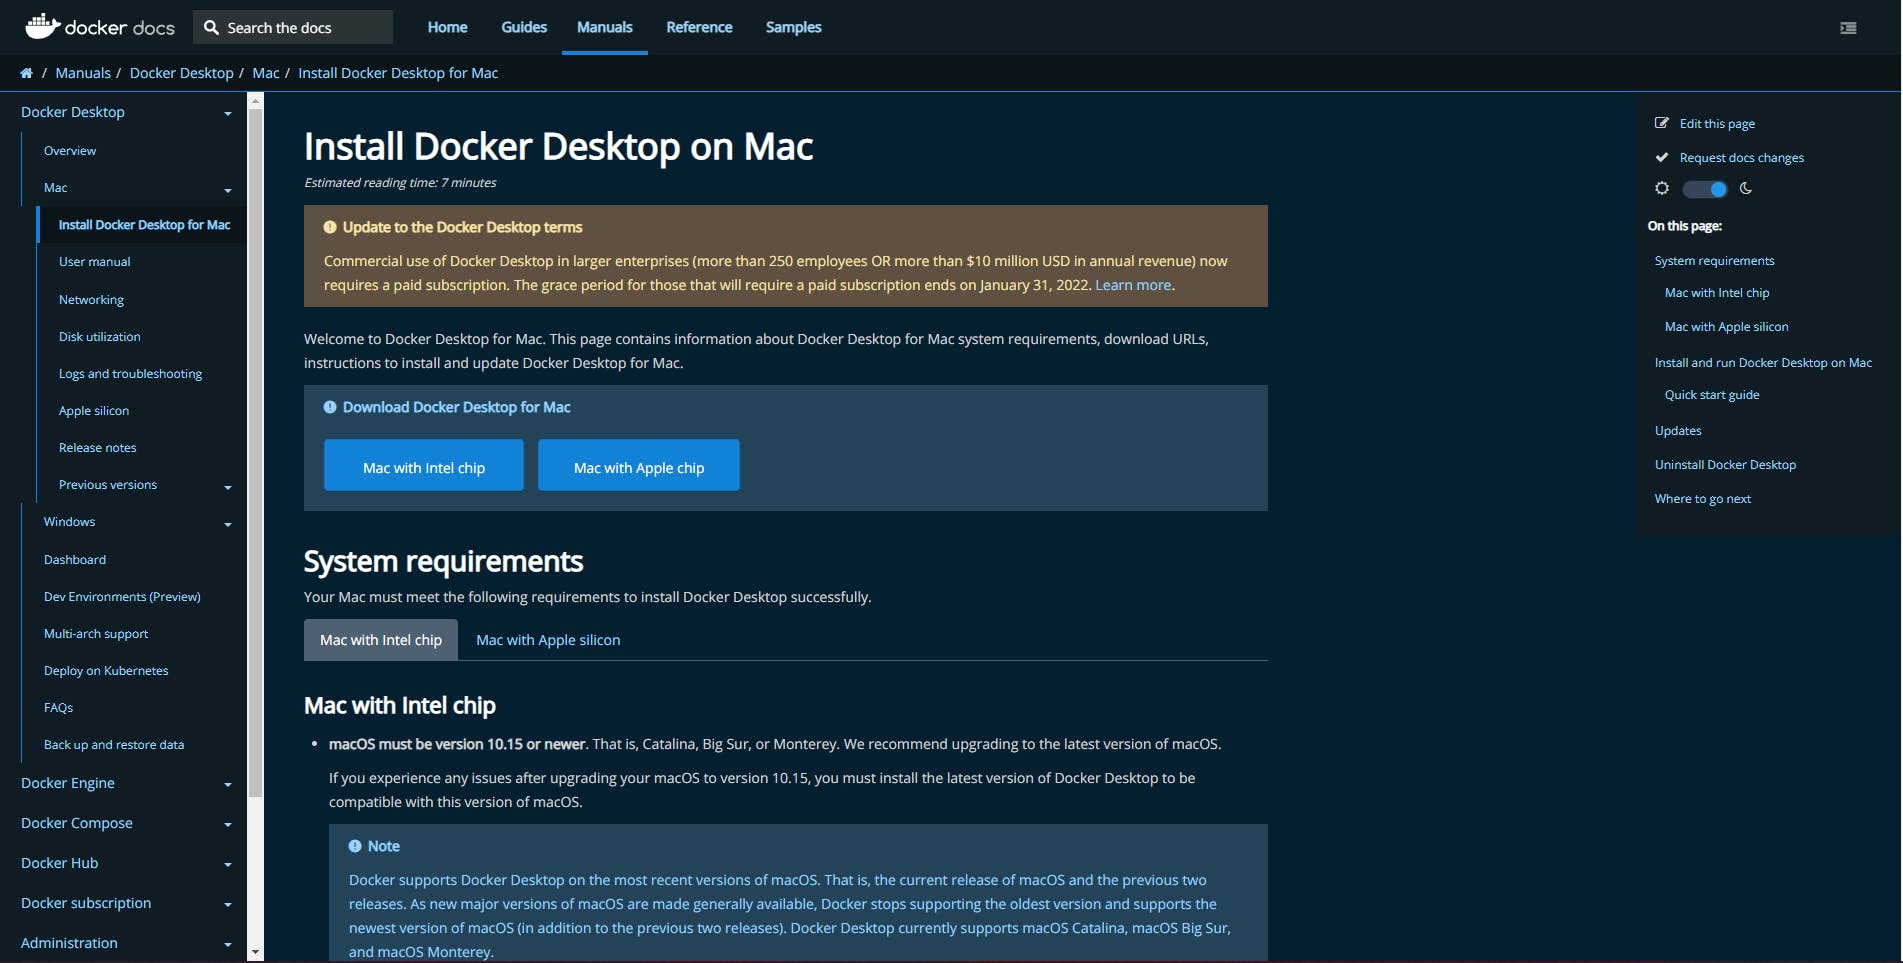
Docker Engine is available on a variety of Linux platforms, macOS and Windows 10 through Docker Desktop, and as a static binary installation. Find your preferred operating system below.
Docker must be installed in your system for that you can download Docker desktop for:
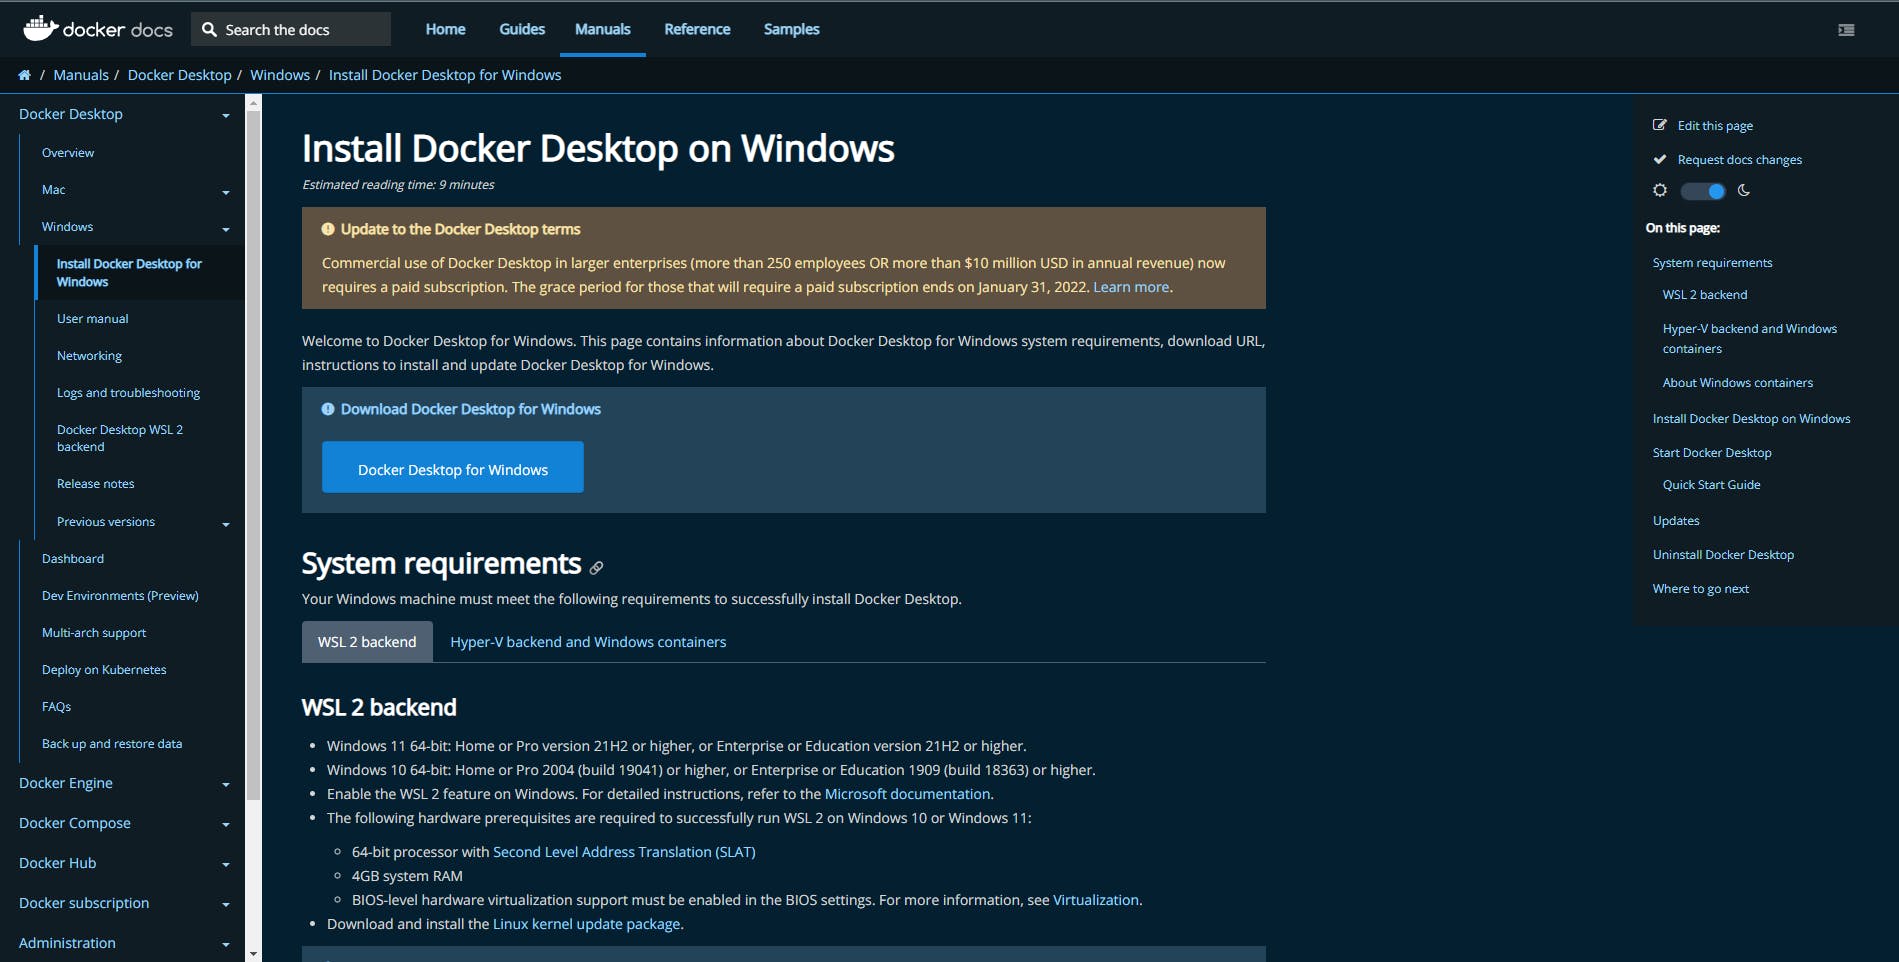
You must install WSL2(Windows Sub-System for Linux) for Windows users, Ubuntu is recommended.
- For Linux users Docker provides .deb and .rpm packages from the following Linux distributions and architectures, you can check the install page: docs.docker.com/engine/install
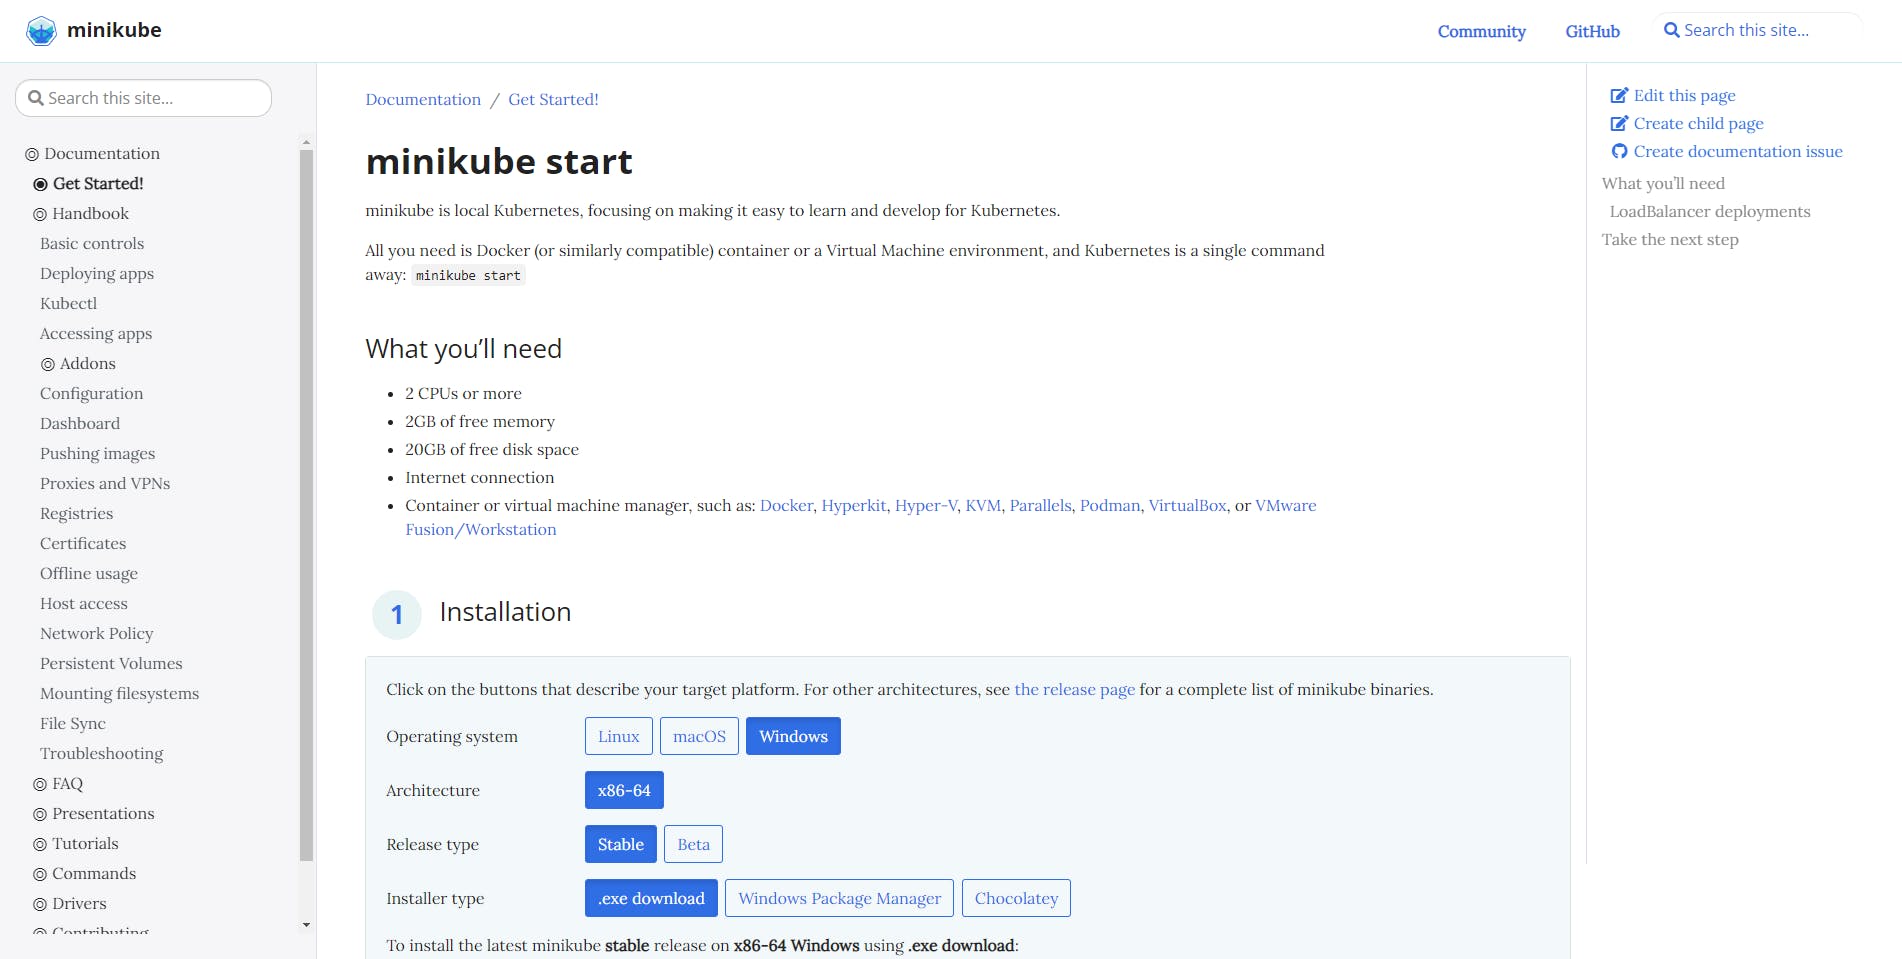
Minikube
- Minikube is local Kubernetes, focusing on making it easy to learn and develop for Kubernetes, to install visit this official page for guidance: minikube.sigs.k8s.io/docs/start
 To check if minikube is installed or not just type "minikube version" in your Linux terminal.
minikube version

- All you need is Docker (or similarly compatible) container or a Virtual Machine environment, and Kubernetes is a single command away:
minikube start
Run minikube
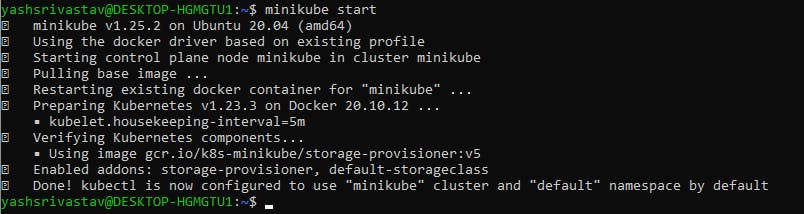
- In your Linux terminal, here I am using Windows system and I installed ubuntu just run "minikube start" and wait for the cluster to get started, after few seconds you should see your cluster is started and get an output something like this
To check the status of you minikube cluster, just type in command "minikube status"
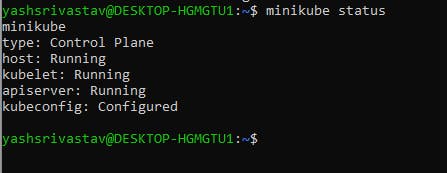
Congrats! Now you have a single node Kubernetes cluster running in your system
Run simple deployment in minikube
We'll create a deployment using a simple deployment.yaml file to deploy pods having containers inside it with "nginx" image.
- Create a folder from your Linux terminal:
mkdir kubernetes-practice

- Change directory:
cd kubernetes-practice

- Open a code editor like VS Code:
code . - It'll open your default code editor(for me its VS Code) inside kubernetes-practice.

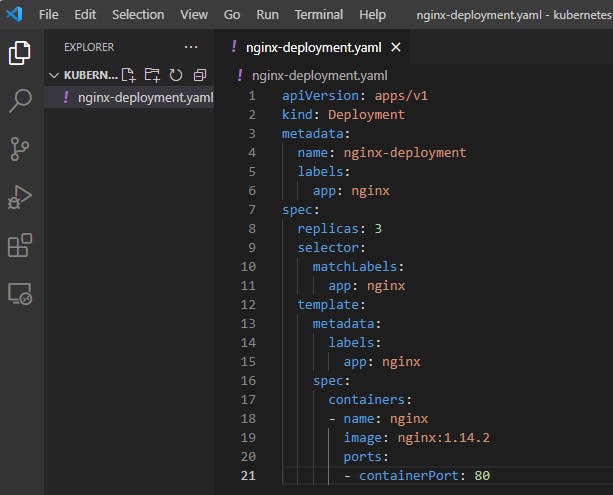
- Create a yaml file with name: "nginx-deployment.yaml"
- Paste this content into the file:
apiVersion: apps/v1 kind: Deployment metadata: name: nginx-deployment labels: app: nginx spec: replicas: 3 selector: matchLabels: app: nginx template: metadata: labels: app: nginx spec: containers: - name: nginx image: nginx:1.14.2 ports: - containerPort: 80 - Save the file and come back to your Linux terminal
- If you now run "ls" you'll be able to see you newly created yaml file.
ls - Now that your deployment file is created, few more steps are remaining, to run the nginx deployment, you just have to run a command:
kubectl create -f nginx-deployment.yaml - You should see a message which says something like "Deployment created"
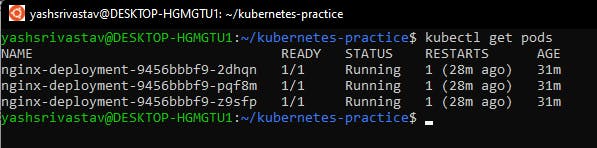
- Now to check if your pods are up and running, run this command:
kubectl get pods - You'll see 3 pods are up and running inside you single node cluster
Run KubeScape security scan
Now we are good to run kubeScape security scan on our single node kuberbetes cluster running a deployment.
Go to your KubeScape Dashboard: portal.armo.cloud
Click on "Add Cluster" and click on "Kubescape CLI – CI/CD Deployment" you'll get a scan command.
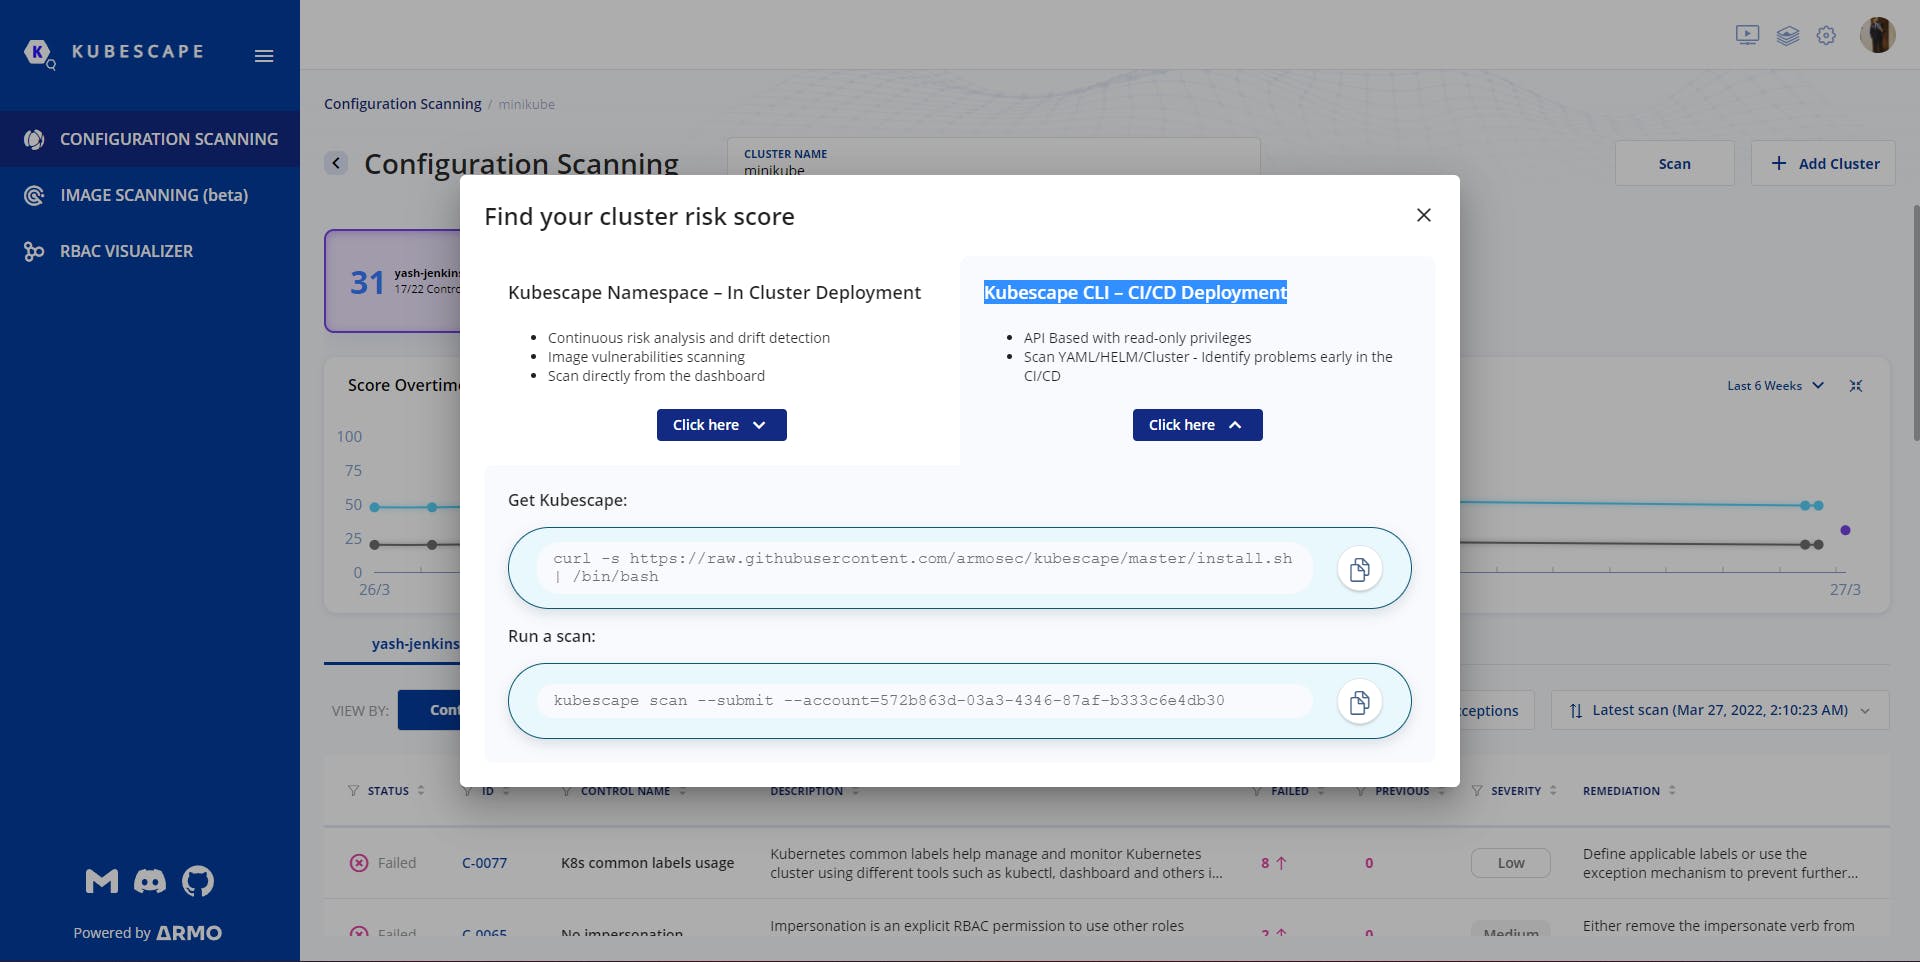
- Install KubeScape from your Linux terminal by running "Get Kubescape" command, copy the command

- After the installation is done, We are at our final Step to successfully run the KubeScape security scan by running "Run a scan" command

- You should see an output something like

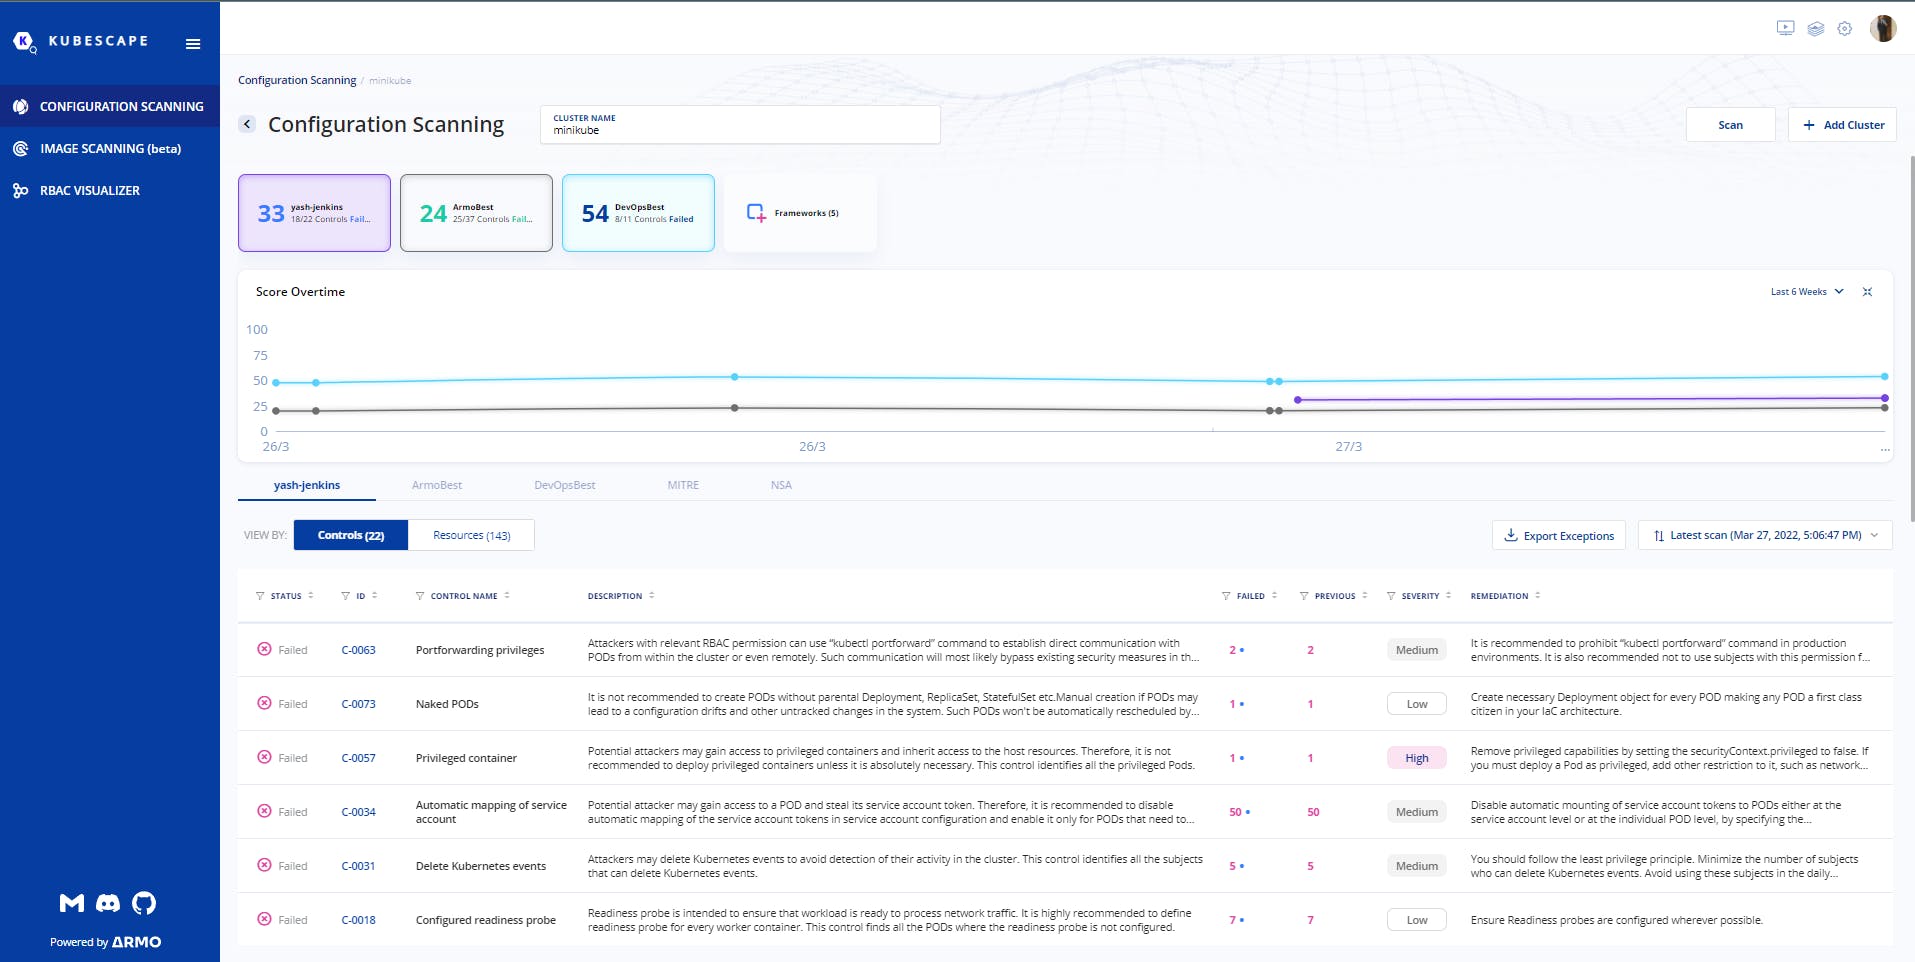
Now you can go to KubeScape dashboard and see your results in a more presentable way and explore more about KubeScape.
To Stop your cluster
After everything is done, you can now stop your cluster by just running
minikube stop
CONGRATULATIONS!!! You just ran your first security scan for your single node cluster. That's it for this blog!
Thanks for reading the blog, I tried to keep it simple and easy to understand. Feedbacks and Questions are welcomed in the comment section.